The Renogy Rover 40A is a serious step up from a small PWM controller when an RV solar array needs more charging capacity and flexible panel wiring. It supports 12- or 24-volt battery systems, but a safe installation still depends on array voltage, cable size, fusing, ventilation, and the battery maker’s charging limits.
Affiliate disclosure: As an Amazon Associate I earn from qualifying purchases. If you buy through an eligible link below, RVGearScout may receive a commission at no extra cost to you.
Quick verdict
The Rover 40A is a practical match for medium-size RV solar systems whose owners want MPPT charging and room to expand. Its published limits—40 amps of charge current, up to 520 watts on 12 volts or 1,040 watts on 24 volts, and a 100-volt solar-input ceiling—make the design math clear, but they are limits, not targets to exceed.
Best for
- RV owners building a 12V solar array up to the controller’s published input limit
- Installers who want adjustable charging profiles and optional remote monitoring
- Campers upgrading from a small PWM controller and rewiring the array correctly
What to check before buying
- Calculate cold-weather panel open-circuit voltage before choosing series wiring
- Match the charging profile to the exact flooded, AGM, gel, or lithium battery
- Use correctly sized cable, overcurrent protection, and disconnects on both sides
- Mount the IP32 controller in a dry, ventilated interior location
Capacity and compatibility
Renogy rates the controller for automatic 12/24-volt detection, 40 amps of charging, and a 15–100VDC solar-input range. For a 12-volt battery bank, the published maximum array power is 520 watts; for 24 volts, it is 1,040 watts. The panel array’s open-circuit voltage can rise in cold weather, so use the panel temperature coefficient—not only the label voltage—when confirming headroom below 100 volts.
Installation is the deciding factor
A charge controller cannot correct undersized wire, weak terminations, or missing circuit protection. Renogy recommends external fusing rather than relying on an internal 40-amp fuse. Keep the battery connection short, follow the manual’s connection order, torque terminals properly, and make sure the battery’s BMS and charge limits agree with the selected profile. Hire a qualified RV solar installer if the design or code requirements are uncertain.
What ownership looks like
The front display provides local status, while supported communication accessories can add app monitoring. That is useful for noticing changes in solar harvest, but a shunt-based battery monitor remains better for tracking total energy moving into and out of the bank. The Rover’s size and 4.4-pound weight also deserve planning inside a compact electrical bay.
Check current availability
Use the link below to confirm the exact model, included parts, seller, and current specifications before ordering.
Related RV Gear Scout guides
- Renogy 200W solar panel guide
- Victron SmartShunt review
- Battle Born 100Ah battery guide
- More Power & Electrical guides
Sources and editorial note
This guide is based on published manufacturer specifications and compatibility information, not a claim of hands-on testing. Product versions and bundles can change, so verify the exact listing and current manual before purchase or installation.
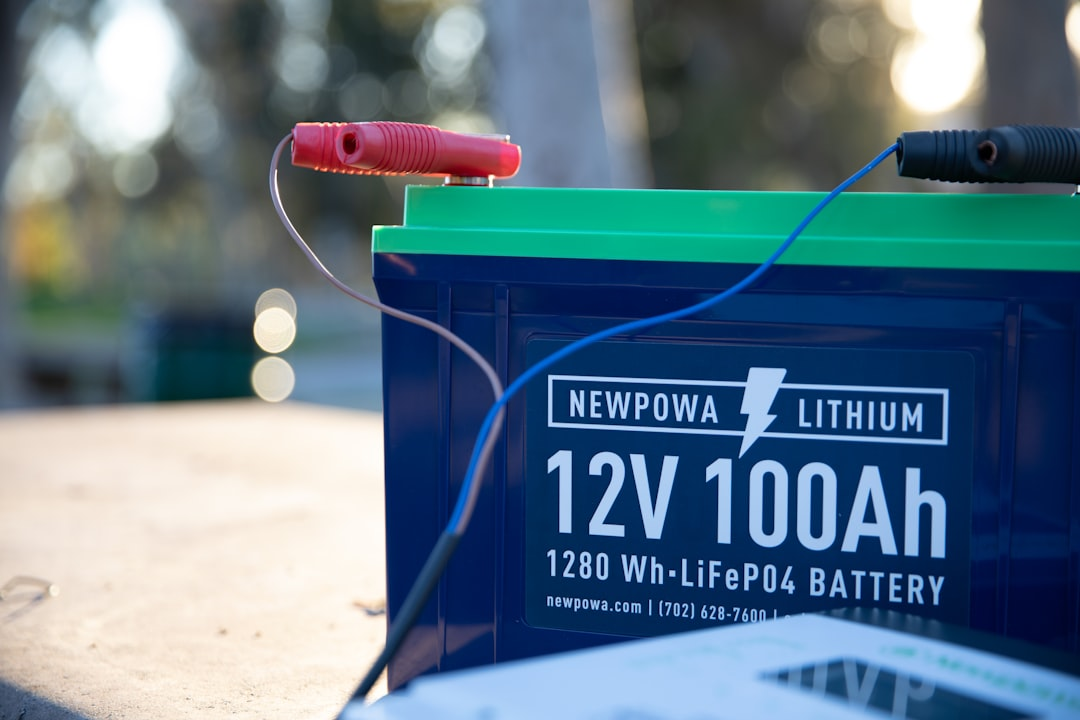
Featured photo by Newpowa on Unsplash.